


1. Face
* Foundation: If you have a lighter foundation to use, go for that one; Bella is obviously extremely pale, and this choice would help. Regardless if you do or don't, make sure to apply an even layer of foundation on the skin with your choice of tool (I used my MORPHE super dense foundation brush) and blend it well. Don't forget the neck!
* Concealer: apply under the eyes to brighten, as well as on any spots or blemishes you may have.
* Finish: If you are oily, feel free to finish with a powder by pressing the product into the skin with a powder puff. This technique will not disturb/move the rest of the foundation. If not, you can leave the face as is.
**Brows: Fill in your brows with a dark brown shade, focusing on any gaps.
*** Contours/Highlights: If you are educated enough in cosmetics and you know how to contour/highlight on very fair skin, go ahead and utilize this step. Often, pale skin is extremely hard to contour since the work is easily viewed on such a stark canvas. Colour matching is also often an issue. Highlight the cheekbones, nose bridge, cupids bow, brow bone, and lightly dust the forehead and chin with a frosty white highlight.
2. Lips
*Lipstick: Feel free to use a scrub first, add lip balm, and finish with a lipstick. The colour I used was actually a bright summery shade, but i blended it into the lips to make it seem a lot more natural and a litter darker.
3. Eyes
*Shadow: Prep the eyes with primer and add a very light brown shade to the entire lid, softly winging it out with a flat eye brush. (***Next, add a darker brown shade to the outer V and crease, as well as underneath the eye on the outer third with a crease brush. Be sure to blend this well with a clean blending brush. Lastly, add in a hint of black eye shadow on the outer V with your crease brush and blend with the blending brush.If you do not feel comfortable kicking this shadow up to a level ***three, omit this step; smoky eyes are a skill perfected with practice!). Line the eyes lightly with the black eye shadow and a liner brush. Smudge out slightly.
*Mascara: Curl your lashes and add one or two coats of your favourite mascara (I always use Lashblast by Covergirl and I never need to wear fake lashes). Keep in mind that we are not aiming for clumpy, thick lashes, but long, soft, fluttery ones like Bella's!
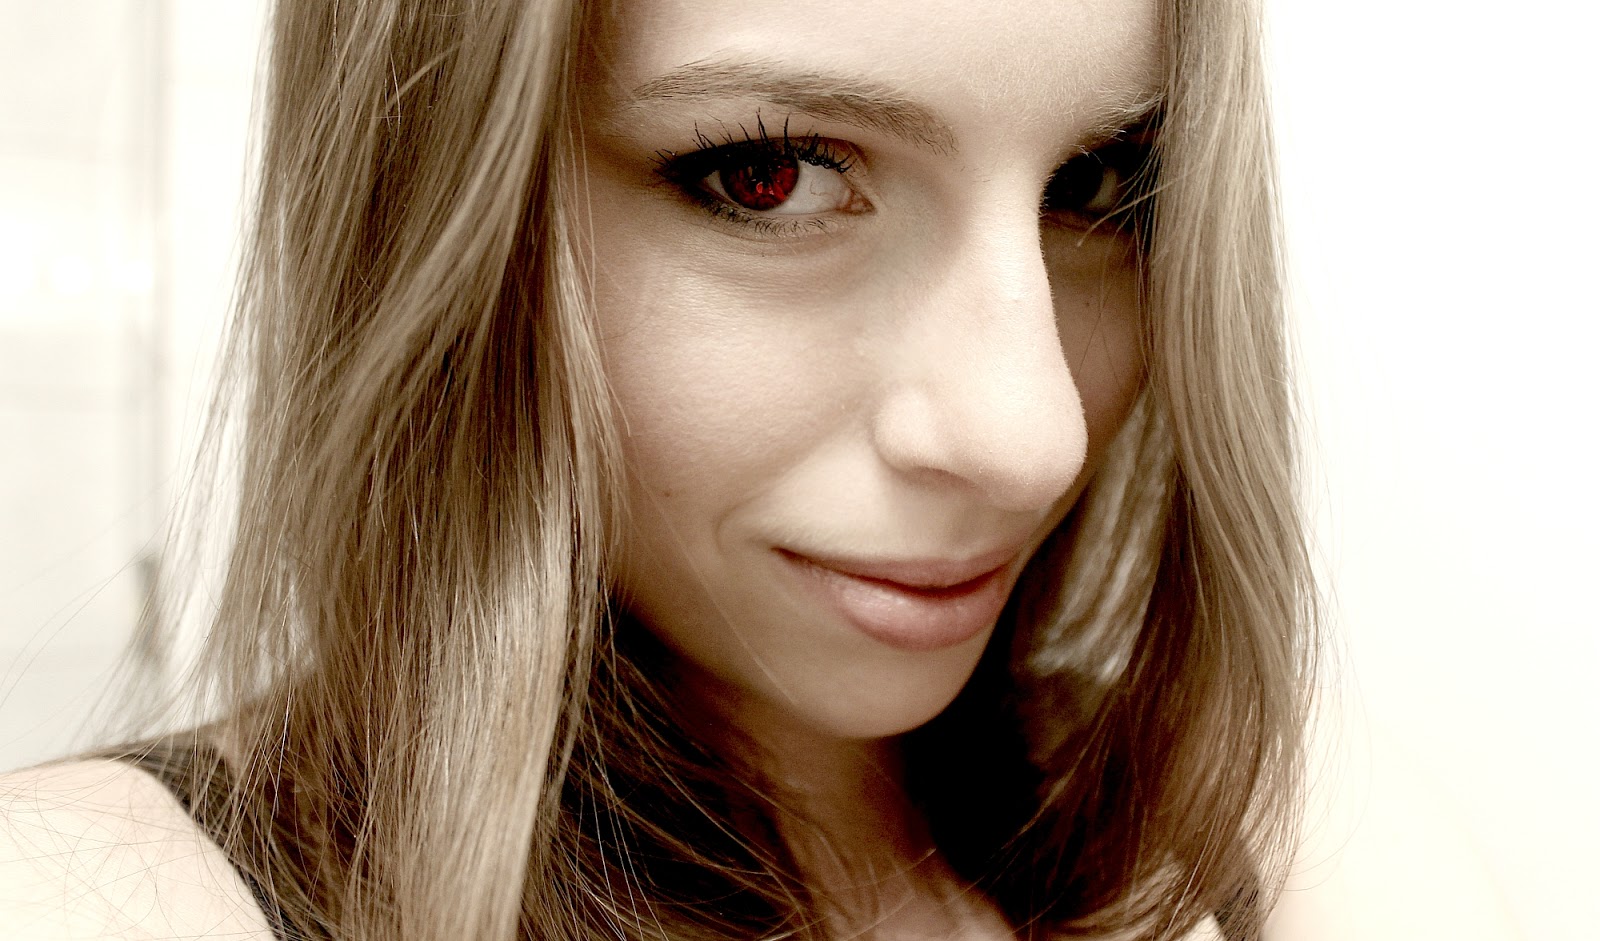
Your look is complete! Hopefully you have some amazing red or golden brown contacts to finish this look off with, but unfortunately I had to stick with some good old photo editing. Let me know what you think of this look in the comments below! Thanks so much for checking it out.
Luck & Love,
Kaylee Slater
No comments:
Post a Comment